
You did it. You started seeds. You nurtured them indoors. You checked on them like proud plant parents. Now your seedlings are green, healthy, and feeling very good about themselves.
Before you send them straight into the garden, there’s one critical step that separates thriving plants from crispy regret:
Hardening off.
Let’s walk through why it matters, how long it takes, how to do it, and how to transplant like a pro—with a little humor, because gardening should be fun.
What Is Hardening Off (and Why Do We Do It)?
Hardening off is the gradual process of acclimating indoor-grown seedlings to outdoor conditions.
Up until now, your seedlings have lived a very entitled lifestyle:
- Perfectly controlled temperatures
- Gentle overhead lighting
- No wind
- No UV rays
- No surprise weather events
They’ve basically been living in a five-star indoor plant spa.
Then one day we expect them to handle:
- Full sun
- Cold nights
- Wind
- And whatever mood Mother Nature wakes up in
Hardening off is loving tough love. It’s how we prepare seedlings for real life without completely traumatizing them.
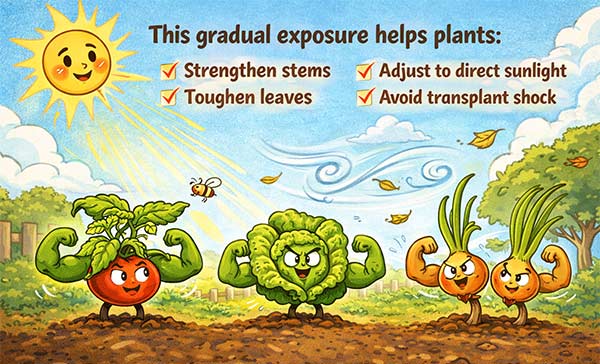
This gradual exposure helps plants:
- Strengthen stems
- Toughen leaves
- Adjust to direct sunlight
- Avoid transplant shock
Skipping this step is like sending someone from the couch straight into boot camp. Technically possible. Rarely successful.
How Long Does Hardening Off Take?
Plan on 7–10 days.
- Cool-season crops: closer to 7 days
- Warm-season crops: often need the full 10 days
Yes, it feels slow. Yes, it’s worth it.
How to Harden Off Seedlings (Step by Step)
Day 1–2: First Taste of Freedom
- Place seedlings outside in bright shade
- 1–2 hours only
- Sheltered from wind
- Bring them back inside afterward
Think “short supervised outing,” not “unsupervised field trip.”
Day 3–4: Meet the Sun (Briefly)
- 2–4 hours outside
- Morning sun only
- Still protected from wind
Sunlight is powerful. Introduce it like hot sauce—not all at once.
Day 5–6: Building Confidence
- 4–6 hours outdoors
- Some direct sun
- Light breeze is okay
Stems strengthen. Leaves toughen. Plants start acting less dramatic.
Day 7–10: Almost Independent
- Most of the day outside
- Full sun is appropriate for the crop
- Begin leaving out overnight if temperatures allow
If nights drop below what your crop tolerates, protect them or bring them in. Tough love still has limits.
Important Notes (Read These. They Matter)
- Reduce watering slightly (not drought, just less coddling)
- Don’t fertilize heavily during this phase
- Remove heat mats long before this stage—those were indoor privileges
Common Hardening-Off Mistakes (Aka: Learn From Other People’s Pain)
- “They looked fine yesterday.”
Sunburn shows up later. Plants hold grudges. - Leaving heat mats on.
Warm roots + outdoor stress = weak plants with unrealistic expectations. - Skipping windy days entirely.
Gentle wind builds strong stems. Hurricane-force gusts do not. - Overwatering to ‘help’ them.
Stress training works best without drowning. - Trying to do it all in one day.
This is not a crash course. This is a transition.
When Are Seedlings Ready to Transplant?
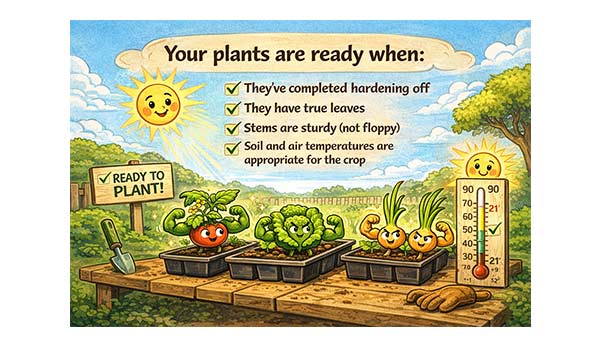
Your plants are ready when:
- They’ve completed hardening off
- They have true leaves
- Stems are sturdy (not floppy)
- Soil and air temperatures are appropriate for the crop
Cool-season crops go out earlier.
Warm-season crops need warm soil, not just warm afternoons.
How to Transplant Seedlings Into the Ground (Best Practices)
1️⃣ Choose the Right Time
Best times:
- Early morning
- Late afternoon or early evening
Avoid midday sun unless you enjoy watching plants wilt in real time.
2️⃣ Prep the Hole First
- Dig the hole before removing the plant
- Hole slightly larger than the root ball
- Lightly water the hole if the soil is dry
Prepared soil = calmer plants.
3️⃣ Handle Plants Gently
- Hold seedlings by the leaves, not the stem
- Loosen roots if root-bound
- Don’t shake soil off aggressively
Roots remember things.
4️⃣ Plant at the Right Depth
- Most plants: same depth as the container
- Tomatoes: can be planted deeper
- Brassicas & greens: keep the crown above soil
Firm soil gently—no concrete compaction.
5️⃣ Water Thoroughly
- Water deeply right after planting
- This removes air pockets and settles soil
Yes, even if the soil already looks moist.
6️⃣ Offer Temporary Protection
Optional but smart:
- Shade cloth
- Row cover
- Wind barriers
- A light “plant blanket” for the first day or two
Think supportive transition, not helicopter parenting.
Why All This Effort Is Worth It
Hardening off properly:
- Reduces transplant shock
- Speeds establishment
- Encourages stronger roots
- Improves yields
- Lowers plant stress (and gardener stress)
Plants that start strong stay strong.
Final Thought:
This Is the Good Part
Yes, you carried trays in and out.
Yes, you checked the weather more than usual.
Yes, your seedlings were slightly dramatic about it.
But this is where gardening shifts from hope to harvest.
Every plant you harden off successfully is one step closer to:
- Healthy food
- Strong gardens
- The deep satisfaction of growing something from seed
And when you’re harvesting later this season, you won’t be thinking about the extra effort—you’ll be thinking, “I grew this.”
And that’s always worth it!