
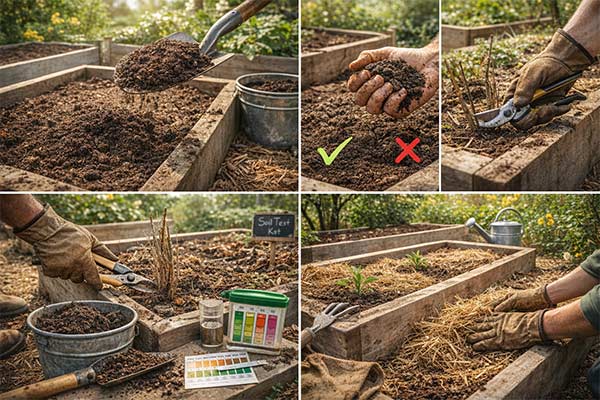
There’s a moment every spring when gardeners step outside, look at their beds, and think:
“Okay… now what?”
The soil looks a little tired.
The beds look a little empty.
And everything feels just a tiny bit suspicious after winter.
Good news: your soil isn’t dead. It’s just been napping.
And if you treat it right, it’s about to wake up and do some incredible work for you.
First Things First: Your Soil Is Alive (Yes, Really)
Before we grab a shovel and go full “spring cleanup mode,” let’s talk about what’s happening underground.
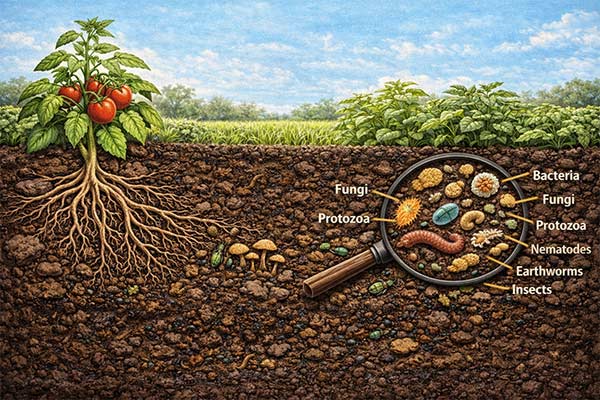
Healthy soil is packed with:
- Beneficial bacteria
- Fungi (the good kind!)
- Earthworms
- Microorganisms that break down organic matter
This underground community is called the soil biome, and it:
- Feeds your plants
- Improves soil structure
- Helps retain water
- Fights off disease
Translation: your soil is not dirt. It’s a living ecosystem.
So our goal in spring is simple:
Wake it up… not wreck it.
The Biggest Mistake: Overworking Your Soil
It’s tempting to dig, turn, and “fluff” everything up like a fresh cake mix.
But here’s the problem:
- Tilling disrupts fungal networks
- It destroys soil structure
- It exposes microbes to air and sun
Think of it like bulldozing a neighborhood just to tidy things up.
Instead, we follow a gentler approach:
Feed the soil from the top down.
Step-by-Step: How to Prep Your Beds for Spring
Let’s walk through this in a way that even a first-time gardener can follow confidently.
Step 1: Check If Your Soil Is Ready (Timing Matters!)
Before you touch anything, do the classic “squeeze test”:
- Grab a handful of soil
- Squeeze it gently
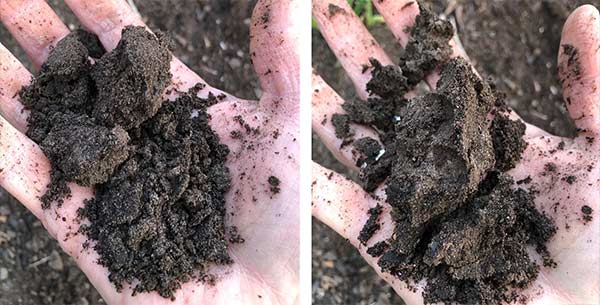
What you want:
- Crumbly and breaks apart easily
What you don’t want:
- Sticky, muddy, or forms a tight ball
If it’s too wet, walk away
Working wet soil = compaction = sad plants later
Step 2: Clear, But Don’t Strip It Bare
Clean up your beds, but gently:
- Remove dead annual plants
- Cut stems at the base instead of pulling roots
- Leave roots in place when possible
Why?
Those old roots:
- Feed soil microbes
- Create channels for water and air
- Improve soil structure
Your soil likes leftovers
Step 3: Test Your Soil (Optional, But Helpful)
You don’t need a lab coat for this.
A simple soil test can tell you:
- pH level (acidic, neutral, alkaline)
- Nutrient levels
Why it matters:
- Most vegetables prefer pH around 6.0–7.0
- Extreme pH can lock up nutrients
If your plants struggled last year, this step is gold
Step 4: Gentle Soil Aeration (Without Wrecking Your Soil Life)
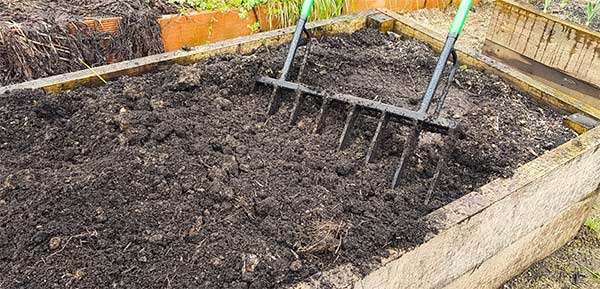
If your soil feels compacted after winter, you might be tempted to dig deep or till everything up. But there’s a better way. Instead of turning the soil, consider gentle aeration using a broadfork or garden fork.
A broadfork allows you to loosen the soil by inserting the tines deep into the ground and gently rocking it back just enough to create air channels, without flipping or disturbing the layers. This keeps valuable fungal networks and microbial life intact while improving drainage and root penetration.
No broadfork? No problem. A standard garden fork can do the trick. Simply insert it into the soil and wiggle slightly to loosen, not lift. You can also let nature help by encouraging earthworms with compost and organic matter. The goal is simple: open the soil, not overturn it.
Step 5: Add Compost (Your Soil’s Favorite Breakfast)
This is the star of the show.
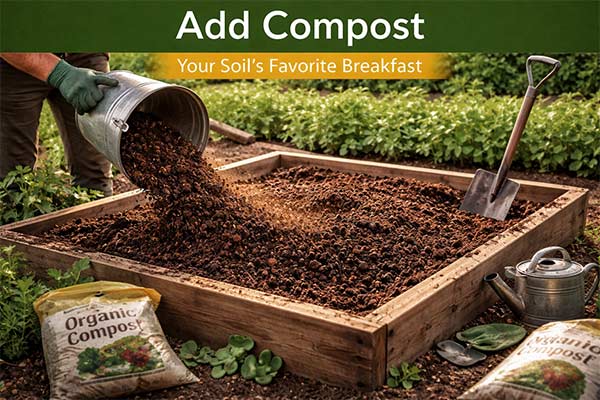
Add:
- 1–2 inches of compost across your beds
Then:
- Gently spread it
- Lightly mix into the top inch or two (optional)
That’s it.
No deep digging. No flipping the bed.
Why compost works:
- Feeds soil microbes
- Improves structure
- Adds slow-release nutrients
- Helps retain moisture
Compost = soil magic
Step 6: Let Biology Do the Work
After adding compost:
- Water lightly
- Let the soil rest for a few days
This allows:
- Microbes to activate
- Worms to move in
- Nutrients to begin cycling
Think of it like letting your garden “stretch” before the season starts.
Step 7: Add Mulch (Optional but Smart)
A light layer of mulch:
- Protects soil
- Retains moisture
- Prevents weeds
Good options:
- Straw
- Shredded leaves
- Light compost layer
Raised Beds vs. In-Ground Gardening
Let’s clear this up because it does matter.
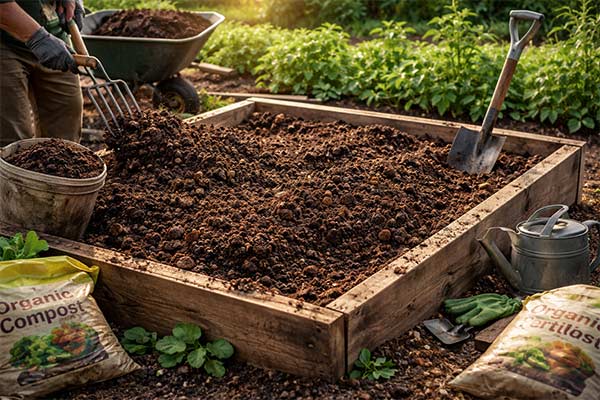
Raised Beds
Pros:
- Warm up faster in spring
- Better drainage
- Easier to control soil quality
- Less compaction
Spring Prep:
- Usually lighter work
- Compost + top refresh is often enough
In-Ground Planting
Pros:
- More natural ecosystem
- Better moisture retention long-term
- Lower cost
Spring Prep:
- May need more loosening (but gently!)
- Broadfork or garden fork instead of tilling
- Add compost just like raised beds
The same rule applies:
Feed from the top, disturb as little as possible. The biggest difference is the soil you start with. If, like many of us up here in the high country, you have mostly rock and clay, you will need to do a LOT of amending. But it is possible with time and a bit of $$ investment (or friends with compost to share)!
Your Soil Is Not Judging You
If last year didn’t go perfectly…
- Your tomatoes forgave you
- Your soil is still on your team
- And your garden is ready for a fresh start
The goal is not perfection.
It’s progress.
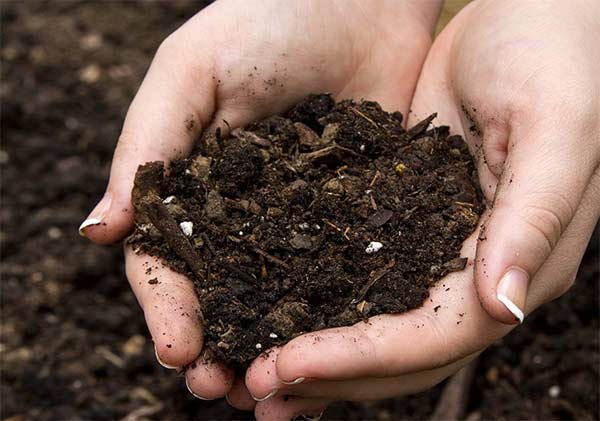
Build Soil, Build Success
When you focus on soil health:
- Plants grow stronger
- Watering becomes easier
- Pest problems decrease
- Harvests improve
It all starts below the surface.
So this spring, instead of asking:
“What should I plant?”
Start with:
“How can I take care of my soil?”
Because when your soil thrives…
Everything else follows.